
Balayage at Home.
On your own time.
On your own time.

Available Now
Productos Preference Balayage destacados

Balayage Results
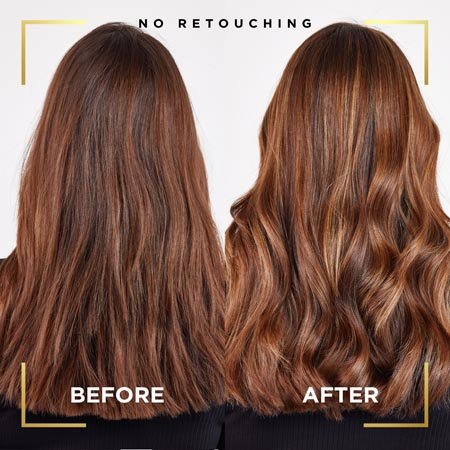
For Dark Blonde to Light Brown Hair
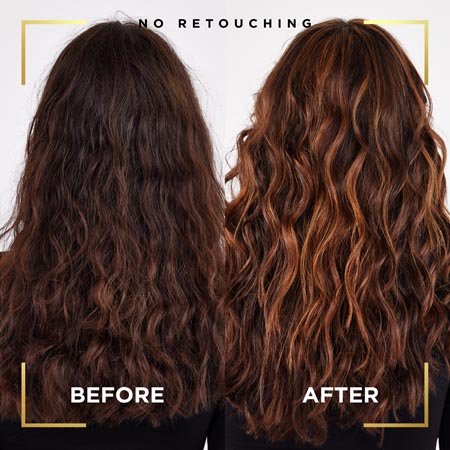
For Medium Brown to Dark Brown Hair
DIY Balayage At Home

How to Balayage at Home
If you like what you see above, we have good news! One of the top services offered at salons now has an option to DIY at home. Nervous about trying DIY Balayage? Read more about how to Balayage at home.
Preference Balayage
Preference Balayage allows you to create luminous, salon-inspired highlights at home.
The easy-to-use Expert Applicator and Pro Toning Mask are the perfect combination to achieve a multi-dimensional and natural-looking Balayage.
How to Balayage At Home
Preference Balayage Regimen: Week 1
Create luminous, naturally blended highlights with Preference Balayage.
Preference Balayage Regimen: Week 2+
Maintain color with Le Color Gloss to tone and refresh for results that last up to 10 days. Swipe to find your recommended shade pairing.
Preference Balayage Regimen: Week 2+
Maintain color with Le Color Gloss to tone and refresh for results that last up to 10 days.
Preference Balayage Regimen: Week 2+
Maintain color with Le Color Gloss to tone and refresh for results that last up to 10 days.
Preference Balayage Regimen: Week 2+
Maintain color with Le Color Gloss to tone and refresh for results that last up to 10 days.