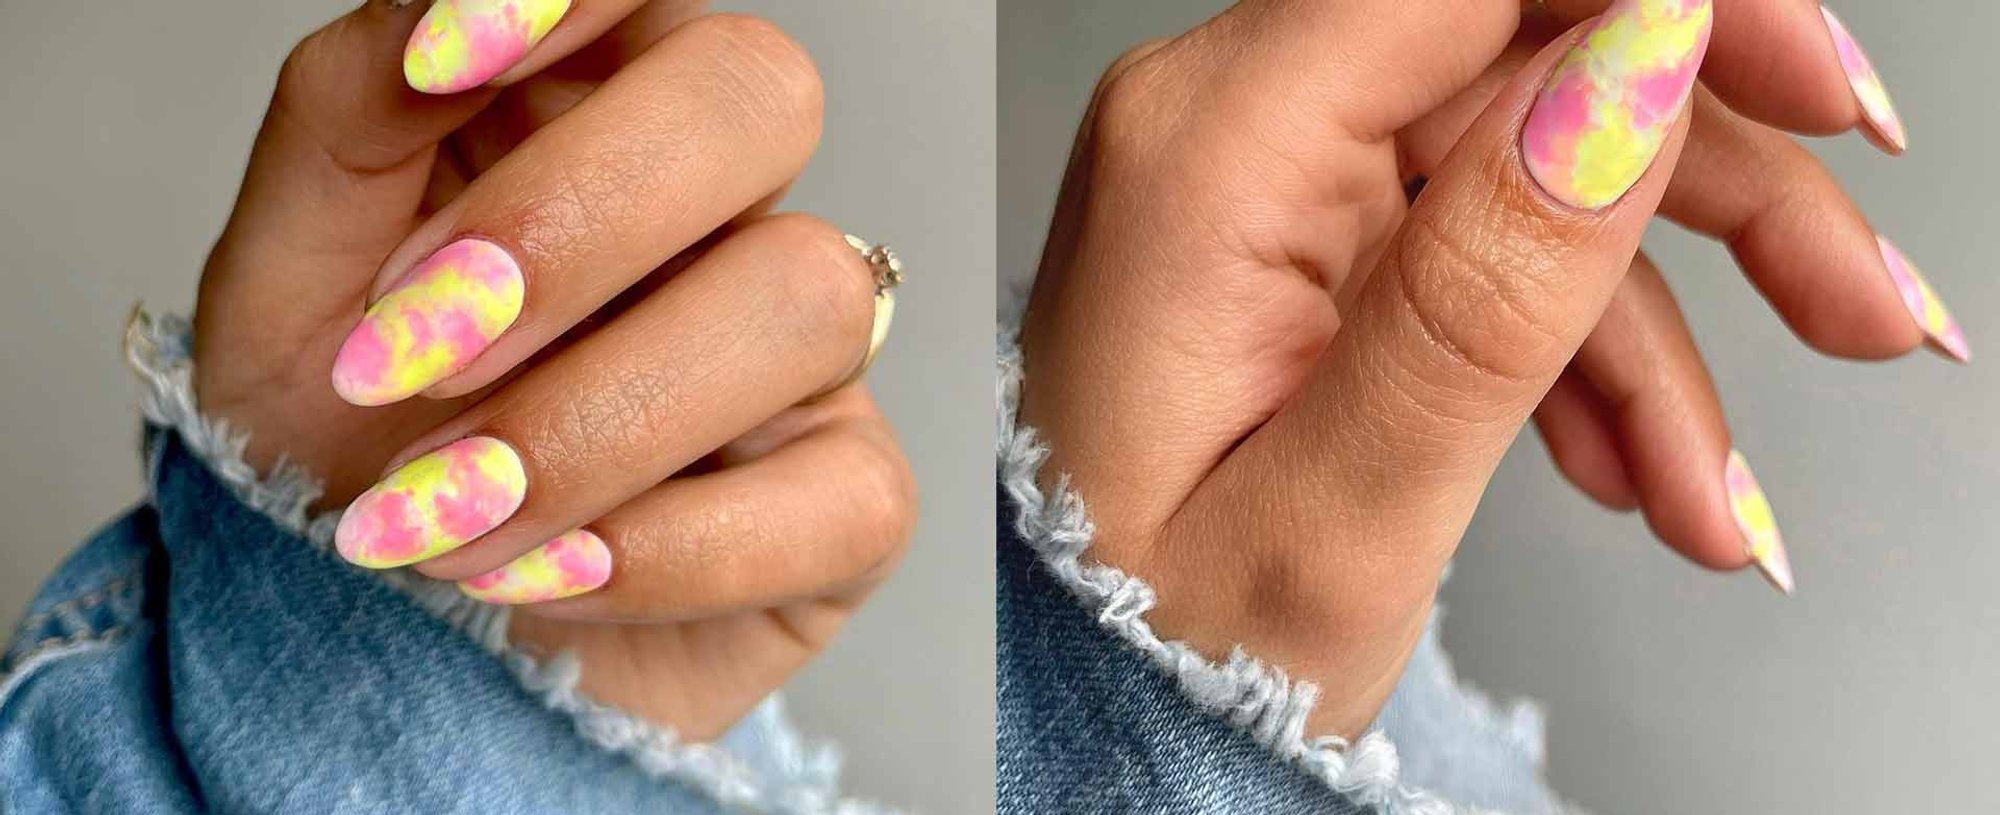
It seems that tie-dye is a pattern that won’t be going away anytime soon. From t-shirts to colorful hairstyles and multicolored makeup looks, there’s no doubt you’ve come across one or more takes on the trend while scrolling through social media. If you’re looking for some manicure inspiration, it should come as no surprise that tie-dye nail designs are pretty popular too. Whether you prefer the traditional bright and bold colors or want to go for softer pastel hues, there are several variations of nail looks you can create. To help you try out tie-dye nails, we’ve put together three step-by-step tutorials you can use to create a custom DIY design.
3 Tie-Dye Nail Design Tutorials
From a water-marbled design to a classic ombré gradient, these tie-dye nail art tutorials will help you get your nails ready for the summer. But before jumping into the process, you’ll need to gather a few items. For these styles, you’ll need nail polish remover, clippers, a nail file, cotton swabs, a variety of colorful polishes including white, your clear top coat, toothpicks, a cup of water, plastic wrap, and petroleum jelly. Now let the fun begin!
Design #1: Water-Marbled Tie-Dye Nails
This water marble nail design requires a specific nail art technique, in which you’ll apply drops of nail polish into water to create a beautiful swirl of color on the surface that will then be transferred onto your nails.
STEP 1: Start by filling a plastic cup with room temperature water (cold might make the polish dry quickly) and apply a few drops of different colored nail polishes into it.
STEP 2: Use a toothpick to swirl the colors around. Then gently dip your finger into the water so that your nail is covered by the design. Wait about 30 seconds for the polish on the surface of the water to dry and gently lift up your finger. Repeat this step on each nail.
STEP 3: After your nails have dried, use a cotton swab dipped in nail polish remover to clean up your edges, and you’re all set!
Editor’s Tip: This nail design can get messy, so apply a bit of petroleum jelly or cuticle oil all around your nail to prevent the polish from sticking to the skin.
Design #2: Ombré Tie-Dye Nails
If you prefer a gradual transition of colors, an ombré tie-dye nail look will be a good summer manicure design for you.
STEP 1: Start by swiping on a few coats of white nail polish as the base color. Then grab a makeup sponge to create your ombré design.
STEP 2: Paint a stripe of your first tie-dye polish directly onto the sponge, placing it near the edge. Then, swipe on another stripe of color next to it and continue to add shades until you have enough stripes to cover your nail.
STEP 3: Align the sponge with your nail and press it down to transfer your gradient pattern. Repeat this process until you have a full set of ombré tie-dye nails. Seal in the look by layering on a top coat to help prevent chips and add shine.
Design #3. Plastic Wrap Tie-Dye Nails
Who knew a little piece of plastic wrap and nail polishes could lead to stunning nail art design? Don’t believe us? Try it out for yourself!
STEP 1: Start by painting your nails in white to help make your design pop. Then grab a square piece of plastic wrap and dab each of your colorful polishes onto it.
STEP 2: Then fold the plastic wrap in half, and press down on the colors to smudge them together, creating one blob of color.
STEP 3: Open up the plastic wrap and then press your nails onto the polish so the color transfers onto your nail bed. Keep doing this until all of your nails have an abstract tie-dye design.
STEP 4: After your nails have dried, clean up any mess with a cotton swab dipped into nail polish remover. Complete your manicure by applying a few swipes of top coat for a shiny finish.
Whether at home or in the salon, don’t forget to moisturize your hands after finishing up a manicure. This will be the key to getting an Instagram-worthy nail photo. Use the L’Oréal Paris Age Perfect Hydra Nutrition Manuka Honey All Over Balm - Face/Neck/Chest/Hands, which smells as great as it feels thanks to its honey-inspired fragrance. The formula also includes nourishing oils infused with calcium and antioxidants that will help keep your skin feeling soft and moisturized.
Photo Credit: Rosemarie Jones, @rosemarie_nailartist
