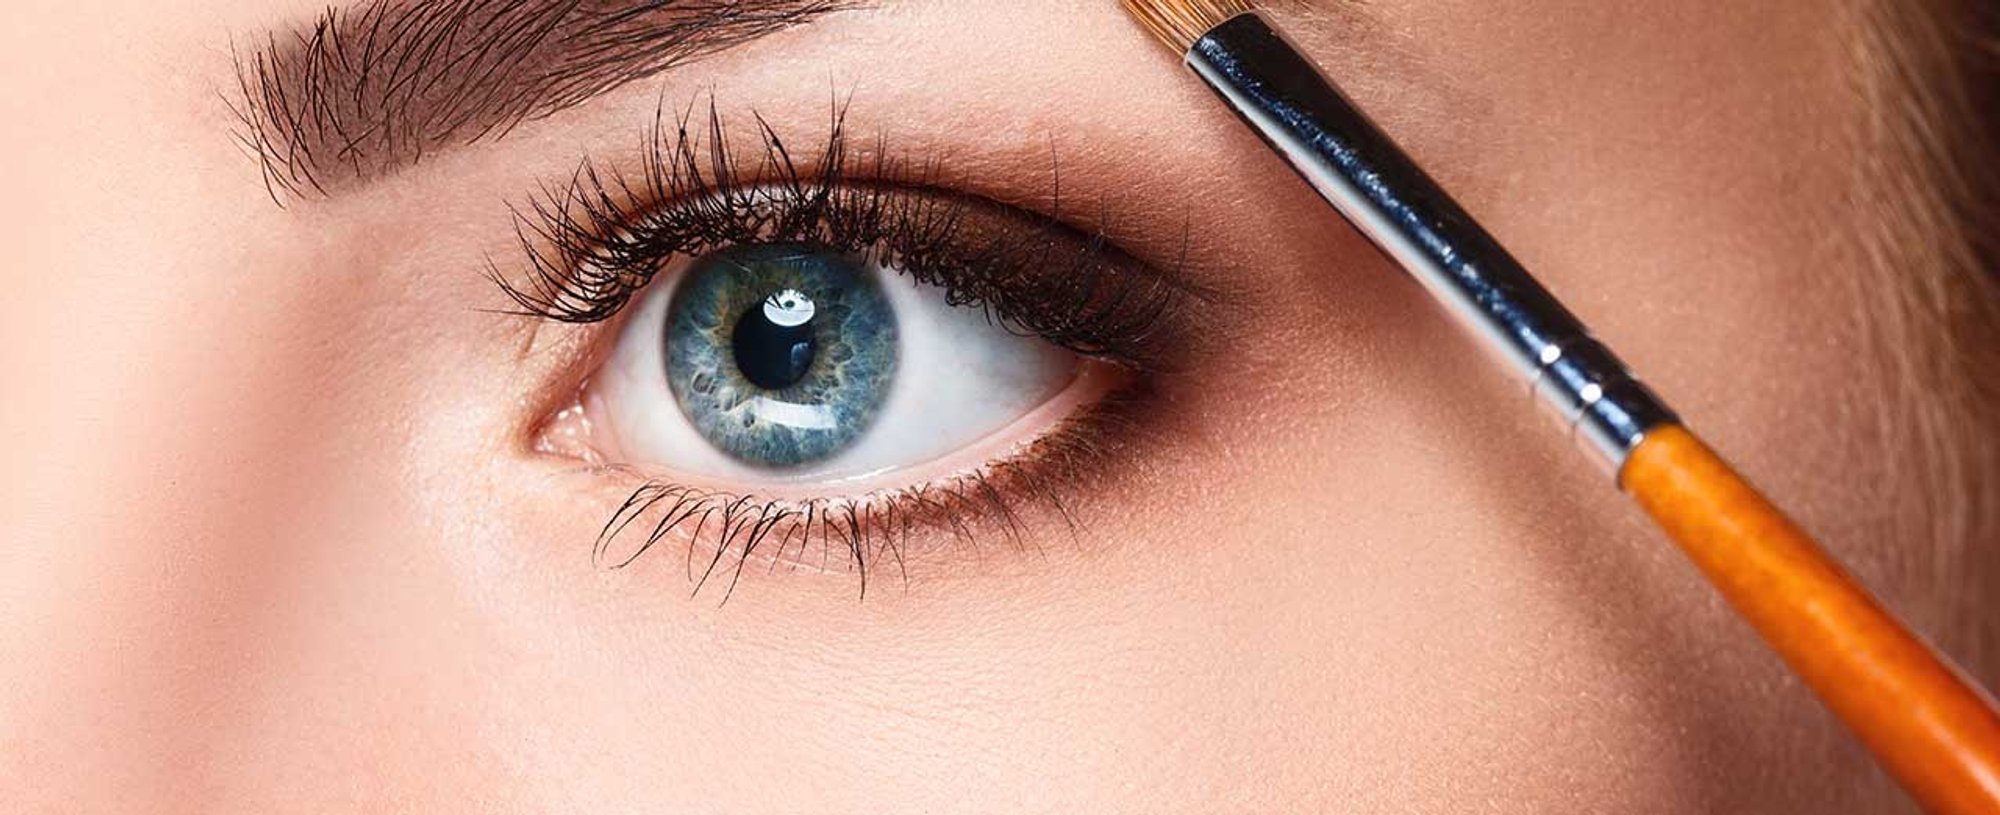
Similar to fashion trends, makeup trends come and go. There’s a cycle, and the looks you love from the ‘80s are bound to come back eventually. Sure, some looks, like deeply lined lips, won’t be missed for a long, long time. Still, there are plenty styles that we’re more than happy to welcome back. And there’s one such trend we want to talk about. No, not a lip liner look—the trend we’re ushering into 2018 with open arms is all about the brow. To be specific, defined, bold, beautiful and natural-looking brows. Even pro makeup artists are on board! “I am all about a natural-looking brow,” says Sir John, celebrity makeup artist and L'Oréal Paris beauty expert. This popular makeup look from the ‘80s is back in full swing. And luckily, there are a bunch of eyebrow makeup options available to help you achieve this fashionable, gorgeous, and timeless look. Read on to learn about your options, plus, get a bit of Sir John’s expert advice.
5 TYPES OF EYEBROW MAKEUP TO TRY
Are you still rocking skinny brows? News flash: it’s time to pick up a brow product and fill those puppies in! Choose from eyebrow pencils, pomades, tinted gels, powders, and more to define your brows and make them suitably on-trend. Below, find a breakdown of each of our most popular types of eyebrow makeup.
EYEBROW MAKEUP OPTION #1: Eyebrow pencil
“I love an eyebrow pencil,” relays Sir John, “You don’t need to do things like concealer around the brows, just utilize the pencil and a brow-brush to fluff the brows up a bit.” An eyebrow pencil is a classic tool used for decades to help define and thicken the look of brows. To achieve bold brows with the help of an eyebrow pencil, draw the outline of your brow shape before filling in with light, feathered strokes. It’s a good idea to fill in starting from the center of your brows and working your way out—if you start closer to your nose, you risk an overly harsh, drawn on look. After shading your brows, use an eyebrow brush to gently brush through your brows, pushing the hairs upwards.
The best eyebrow pencil for this job will have an ultra-fine point. Try a pencil like the L’Oréal Paris Brow Stylist Definer Mechanical Pencil, which makes the art of eyebrow shaping easy to master with its 0.5mm ultra-fine pencil tip, allowing for total precision and a gradual-shading effect. Sir John shares, “I love these because they give super natural definition but also do a great job of filling in where needed.”
EYEBROW MAKEUP OPTION #2: Eyebrow crayon
How about using two eyebrow makeup products? After you use an eyebrow pencil, you can fill in any remaining sparse areas with an eyebrow crayon. The L’Oréal Paris Brow Stylist Kabuki Blender is a soft and creamy crayon that glides on smoothly and easily for a quick and even application. It comes with a kabuki brush to help blend in your strokes for full-looking brows that have a soft, natural finish. How you wield the crayon will make all the difference in how your brows look—you can use it lightly for a natural look or use firmer strokes for a statement-making brow.
EYEBROW MAKEUP OPTION #3: Eyebrow powder
Pencils tend to be the go-to brow product for beginners, but powders are equally easy. The key to achieving full, defined eyebrows with an eyebrow powder is to start with clean, brushed brows. Then, tweeze any stray hairs, giving yourself a smooth canvas to work with. The L’Oréal Paris Brow Stylist Prep & Shape Pro Kit, comes with everything you need, including mini tweezers. Besides tweezers, this brow kit contains an arch-perfecting wax, eyebrow powder, and an applicator brush. To use, dip the angled brush into the soft wax and apply with angled strokes. Then, use the same angled brush to apply the eyebrow powder, filling in any gaps. Finally, use the spoolie (on the opposite end of the brush) to comb through and style your brows.
EYEBROW MAKEUP OPTION #4: Eyebrow gel
Wondering what eyebrow makeup option will get you out the door the fastest? We have the answer: eyebrow gel. A fiber-infused brow gel formula can actually temporarily thicken the look of your brow hairs by coating each individual hair—in hardly any time at all. In addition to giving brows a denser appearance, brow gels can be used for a natural-looking tint, as well as to tame brows and keep individual brow hairs in place. And who doesn’t love a multi-tasker? Before you rush out the door, use the L’Oréal Paris Brow Stylist Boost & Set Brow Mascara to enhance your brows. The brow gel’s mousse formula will leave your eyebrow hairs looking fuller and more defined. It’s also available in a transparent shade so you can sculpt and shape without adding color if that’s your preference. Apply the eyebrow gel in short upward strokes following your brow shape and comb through to blend and plump brows.
EYEBROW MAKEUP OPTION #5: Eyebrow pomade
When you see stunningly sculpted brows on the Instagram explore page, it’s safe to assume they were achieved with the help of a brow pomade. These lightweight, creamy mousse formulas can be used to help define the shape of your brows and give them an overall thicker appearance. Even if you barely have any brows at all, with a pomade, you can draw on bold brows that actually look natural—as long as you use the right technique. The L’Oréal Paris Brow Stylist Frame and Set comes in four easy-to-match shades with a double-ended applicator tool, featuring a brush and spoolie. First, dip the brush into the pomade and use it to outline your brow and define your arch. Then, draw brow hairs in sparse areas with the brush’s angled tip. Fill in your brow to your desired intensity before blending with the spoolie. And there you have it, beautiful brows!
Read our article, How to Find the Best Eyebrow Makeup for Your Eyebrow Shape, for more eyebrow makeup tips.
