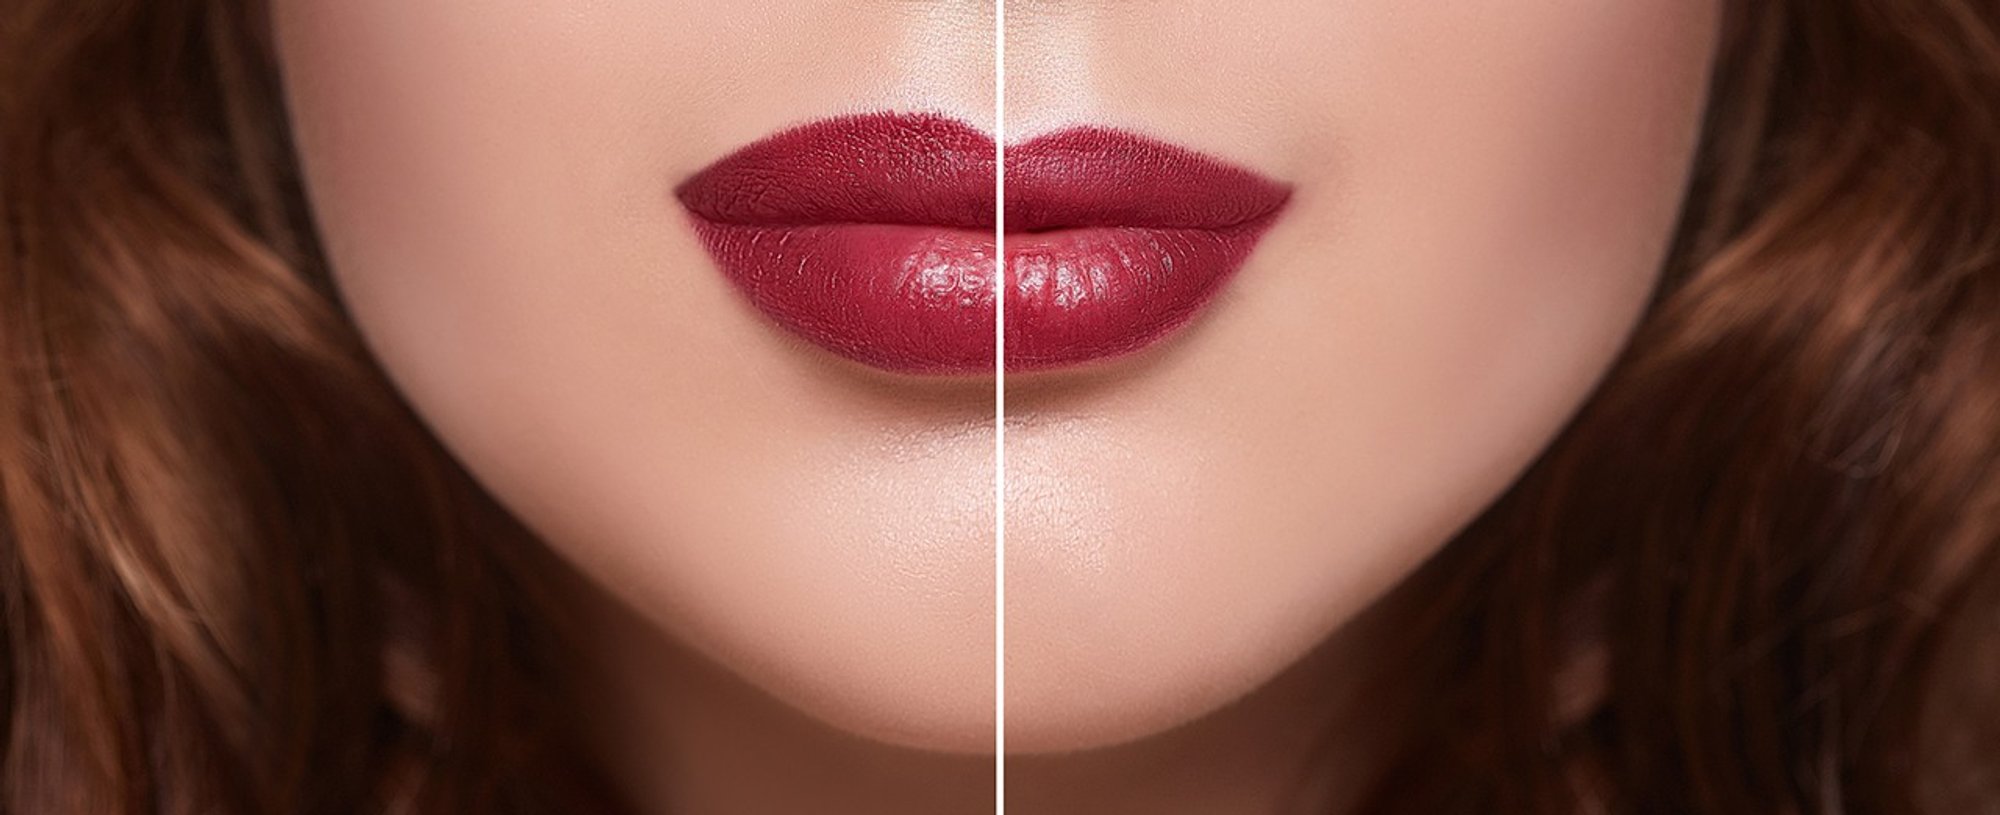
Take a quick scroll through your social media feeds, and it’s safe to say you’ll come across overlined lips on influencers, celebrities, and friends alike. The fact is, many of us want to make our lips look bigger, and overlining your lips happens to be the perfect way to do so. Want to give it a try and have a sought-after pillowy pout? Below, we’re sharing step-by-step instructions on how to overline your lips, along with the makeup products—yes, you need more than lip liner—to do so.
STEP #1. EXFOLIATE YOUR LIPS
Prepping your pout is just as important as lining your lips in order to achieve the perfect overlined lip look. Use a lip scrub like the L’Oréal Paris Pure-Sugar Nourish & Soften Cocoa Scrub to ensure your lips have a smooth, even surface.
STEP #2. SMOOTH ON A LIP BALM
The next prep step? Applying a lip balm! Keeping your lips hydrated is not only a generally good practice, but it’ll also help your lip products wear better.
STEP #3. PRIME YOUR LIPS
Just as you apply primer prior to smoothing on your face makeup, it’s a good idea to start your lip makeup with a lip primer. You wouldn’t want your overlined lips to fade throughout the day, would you? If you don’t have a lip primer on hand, you can use a dab of concealer in a pinch.
STEP #4. PICK YOUR LINER
When it comes to choosing your lip liner, there are two things to keep in mind for the perfect overlined lip: finish and color.
When it comes to finish…keep it natural. The purpose of overlined lips is to fake the appearance of a naturally full pout. That being said, you won’t want to use a lip liner that’s too matte or too shimmery. Stick to one that has a natural finish.
When it comes to color…keep it neutral. Like we said, you want your overlined lips to pass for your actual lips. While you can play around with color, your best bet is to stick to shades that are natural-looking.
Need a few recommendations? Pick a neutral shade of any of the following liners.
L’Oréal Paris Age Perfect Makeup Anti-Feathering Lip Liner - Smooth Application: This lip liner is specially formulated for mature skin. It has a carefully crafted applicator that offers precision without tugging at your skin, and it has an anti-feathering formula.
L’Oréal Paris Colour Riche Lip Liner: This lip liner is perfect for creating definition. The anti-feathering formula provides rich color.
L’Oréal Paris Infallible Never Fail Lipliner: This long-wearing lip liner won’t feather or fade. The rich, creamy formula goes on smooth while the built-in sharpener makes it easy to get precise lines every time.
STEP #5. SHADE THE CORNERS
Use a precise lip liner to shade the outer corners of your lips, going ever so slightly outside the lines. By shading, you’ll avoid a stark contrast between your lip liner and lip color.
STEP #6. DEFINE YOUR CUPID’S BOW
Next, you’ll want to focus on your cupid’s bow. Lining just outside your natural lip line, create an X over your cupid’s bow.
STEP #7. LINE AWAY
Finish lining the rest of your lips. Keep in mind that less is more—you only want to go a tiny bit outside of our natural lip line! Anything more can lead to unrealistic, obviously overlined lips.
STEP #8. FILL IT IN
Of course, you don’t want to leave the rest of your lips bare. When choosing a lip color, once again, look for one with a natural finish like the L’Oréal Paris Colour Riche Lipcolour. As for the shade, choose a color that’s one to two shades lighter than your lip liner to create a flattering ombré effect.
STEP #9. FOCUS ON THE EDGES
Rather than cleaning up your lip look with concealer, you’ll actually want to do the opposite. Use your fingertip or a lip brush to gently smudge your liner, creating a more natural, softer line.
STEP #10. ADD SOME HIGHLIGHT
Finish your look by popping a powder highlighter, like the L’Oréal Paris True Match Lumi Shimmerista Highlighting Powder, onto your cupid’s bow. Now, it’s time to pucker up!
